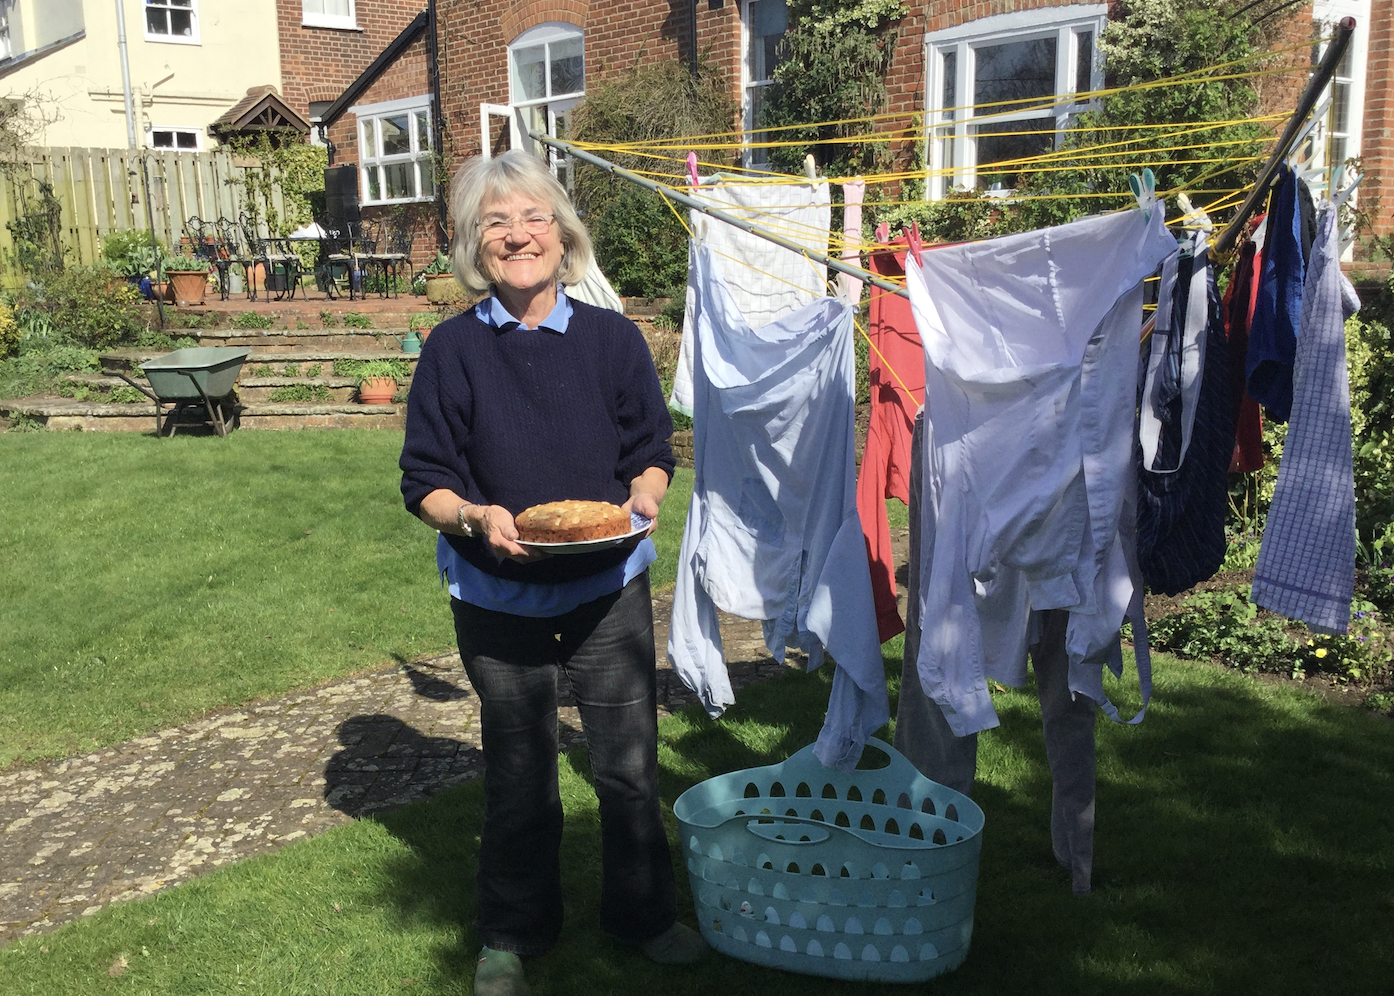
“I scribbled this recipe down from a falling-apart book of recipes belonging to my mum. She had scribbled it down from her mum. It's quite an imprecise recipe, which suits our style of cooking just fine. It always turns out differently, and it is always delicious. You can be certain that in the kitchen cupboard of every family member there is an open jar of Mum's chutney and at least one in reserve. It is a staple for us. Of course, we all eat it with cheesy snacks, sides and meals, but also with sausage suppers. I've been cooking my own batches since moving to a place with two loaded apple and pear trees in the back garden. We can't possibly eat all the sour apples, and the pears fall off and smash before they are ripe, so chutney-making in autumn is a satisfying activity that keeps on giving for the rest of the year as we crack open jars months later.”
Meet the cook
Georgina Hovanessian
Oxford
Shared with the Other People's Recipes community.
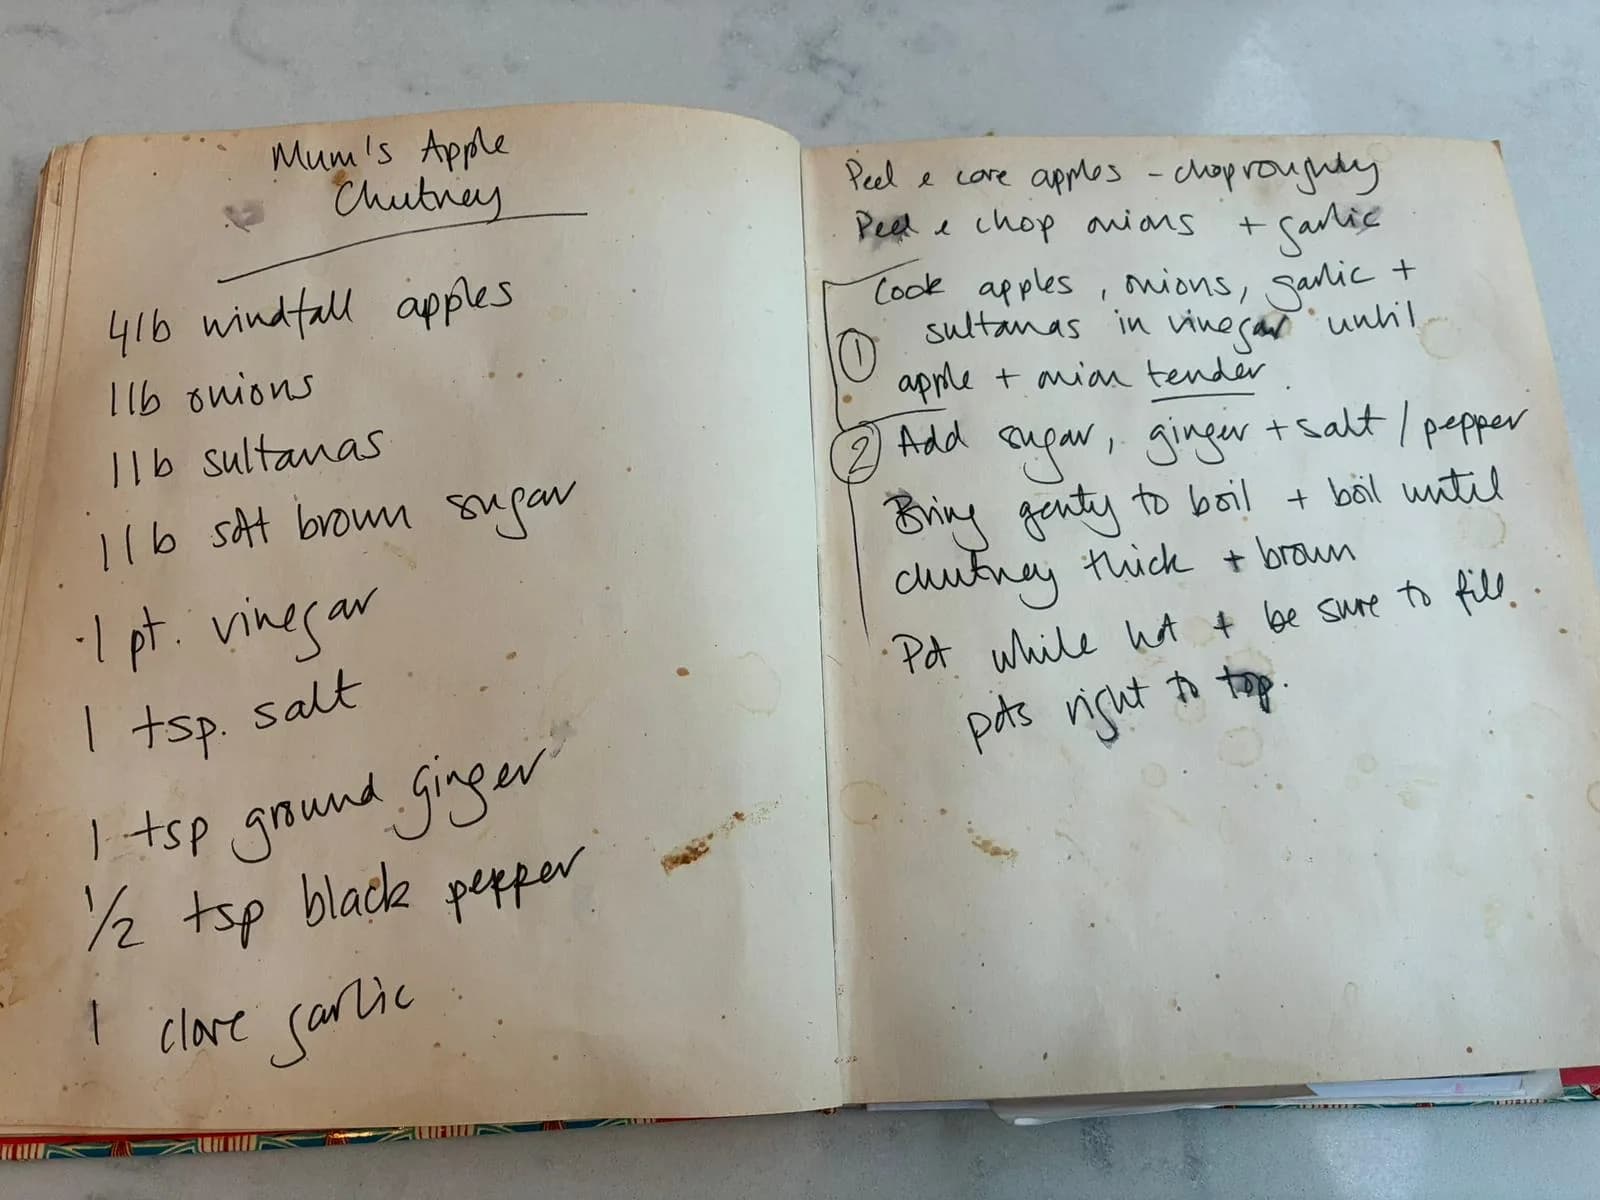
The original
The recipe as it was first written.
The handwritten notes, stains and shortcuts are part of the story too.
The method
1Peel and core the fruit, then chop it roughly.
2Peel and chop the onions and garlic.
3Cook the fruit, onions, garlic and sultanas in the vinegar until the fruit and onions are tender.
4Add the sugar, ginger, salt and black pepper.
5Bring gently to the boil and cook until the chutney is thick and brown.
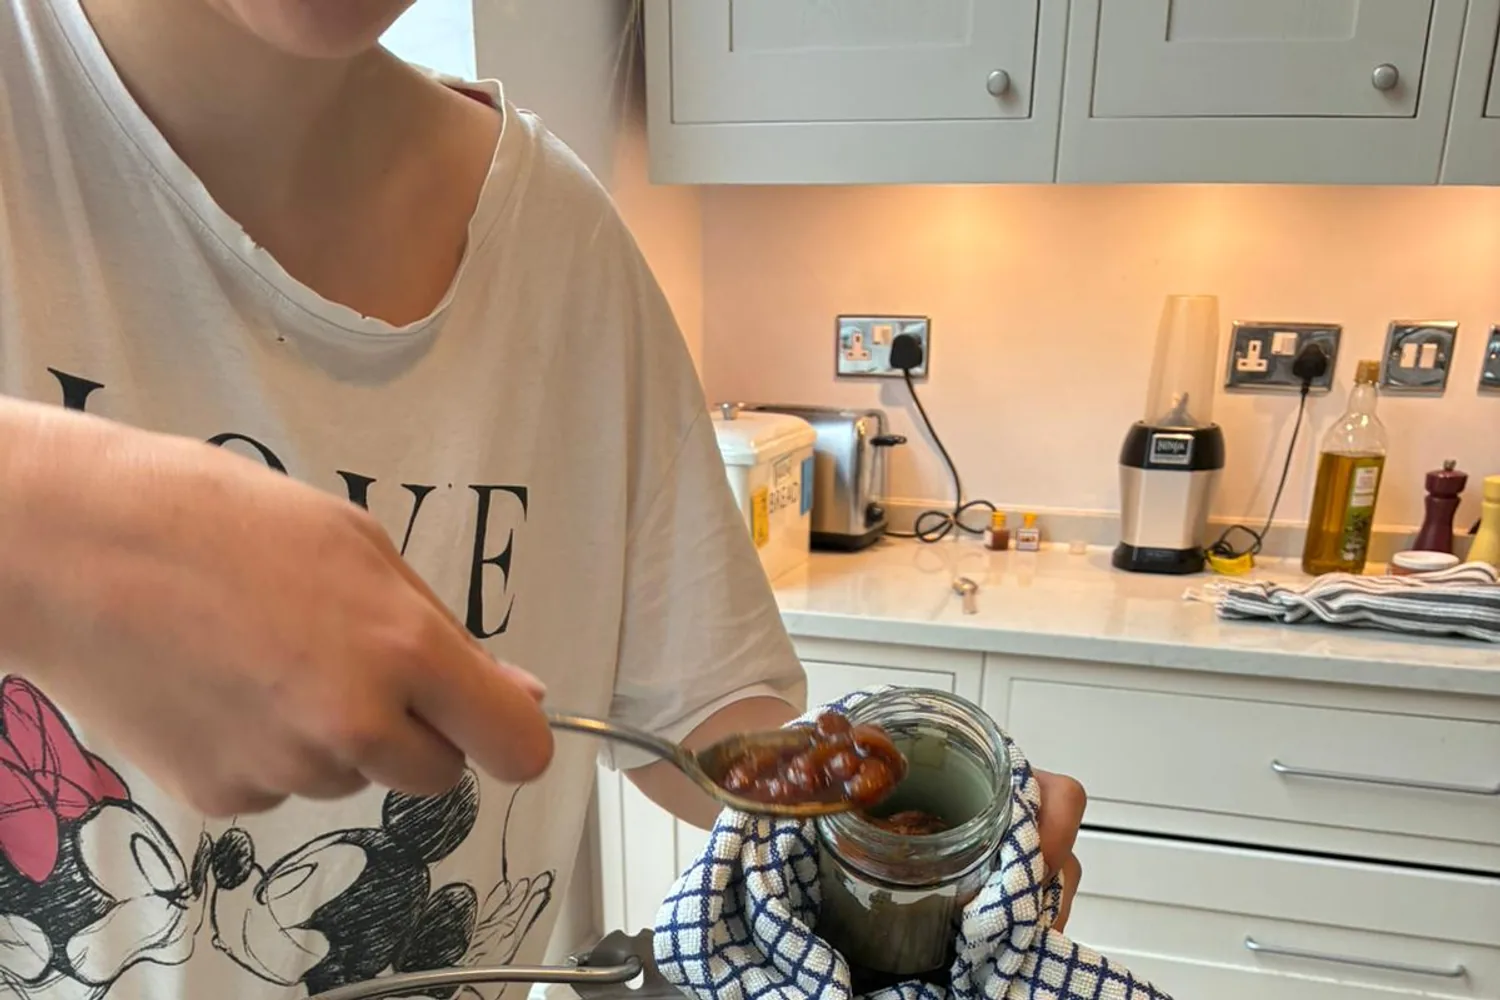
6Spoon into prepared jars while still hot, leaving the headspace recommended by the jar manufacturer, then seal as directed.
A visual guide
See the key stages
Key moments to look for as you cook. Use these visual cues alongside the written method.
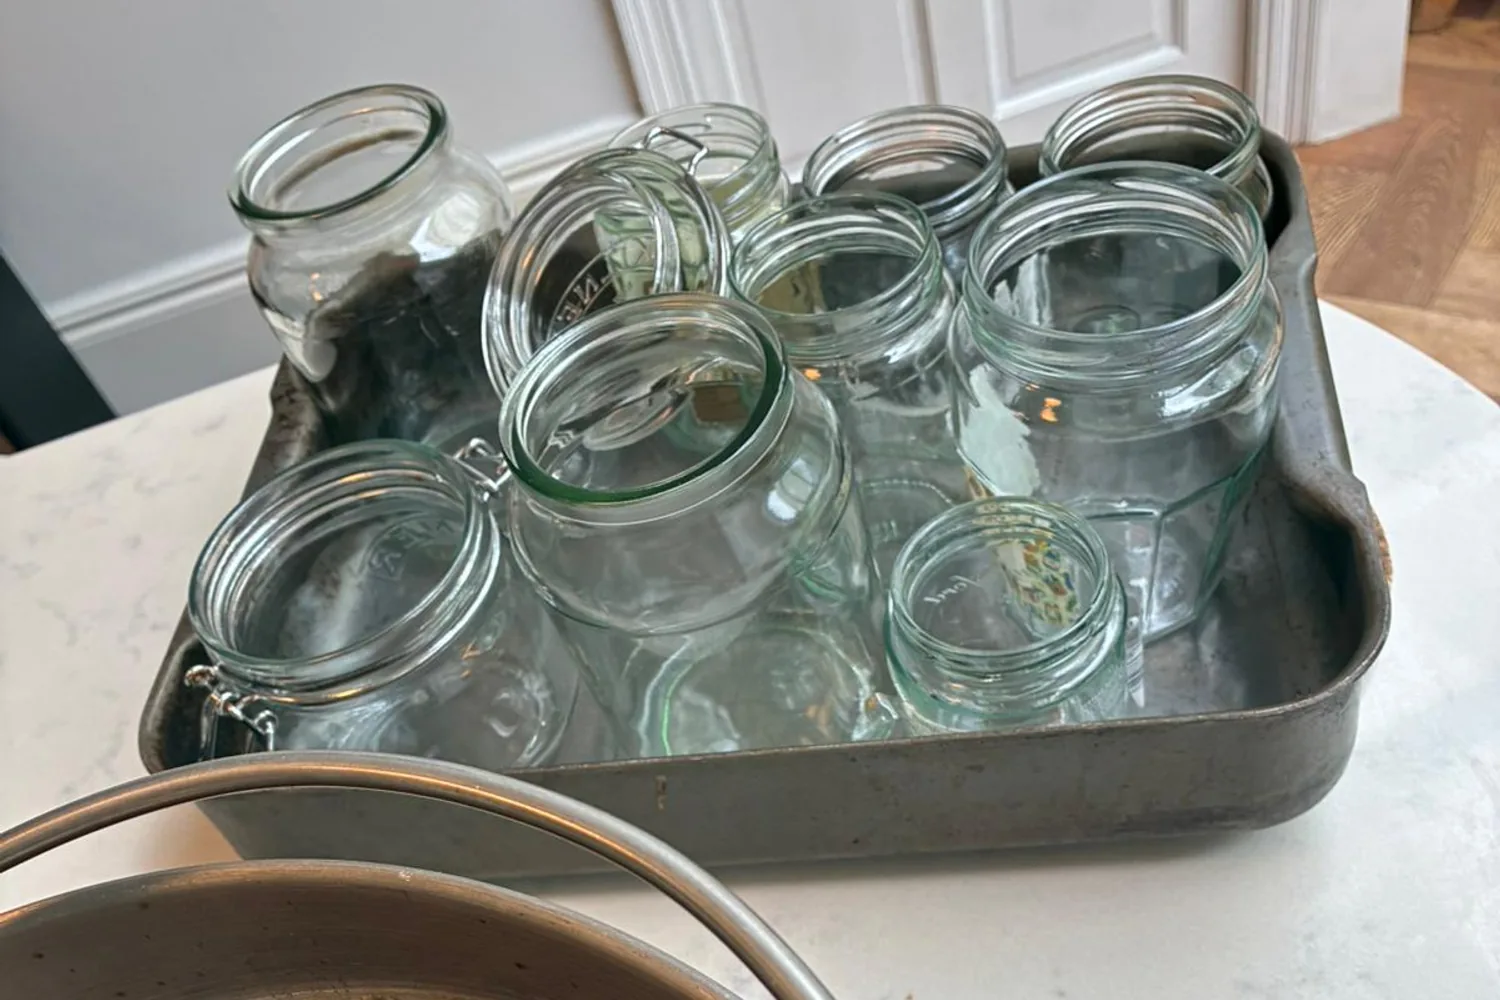
Step 1
Get the jars ready
Prepare enough clean jars before the chutney is finished so it can be potted while everything is still hot.
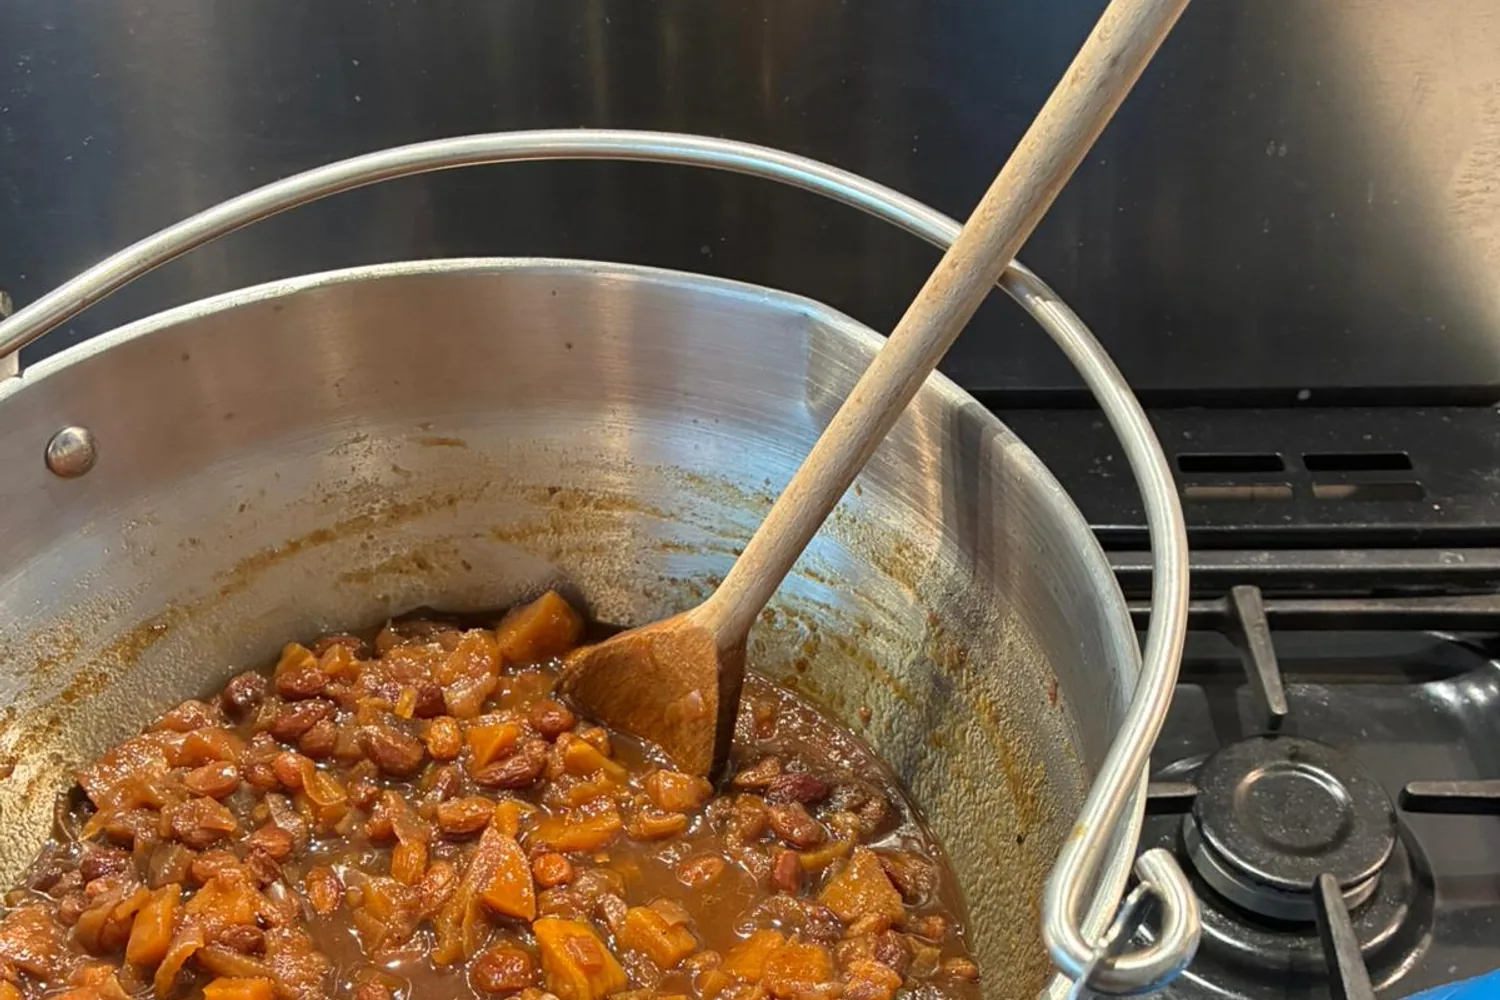
Step 3
Cook until tender
Let the fruit, onions and sultanas soften in the vinegar before adding the sugar and spices.
Step 6
Pot while hot
Work carefully and steadily, protecting your hands with a clean tea towel while filling each prepared jar.
Step 6
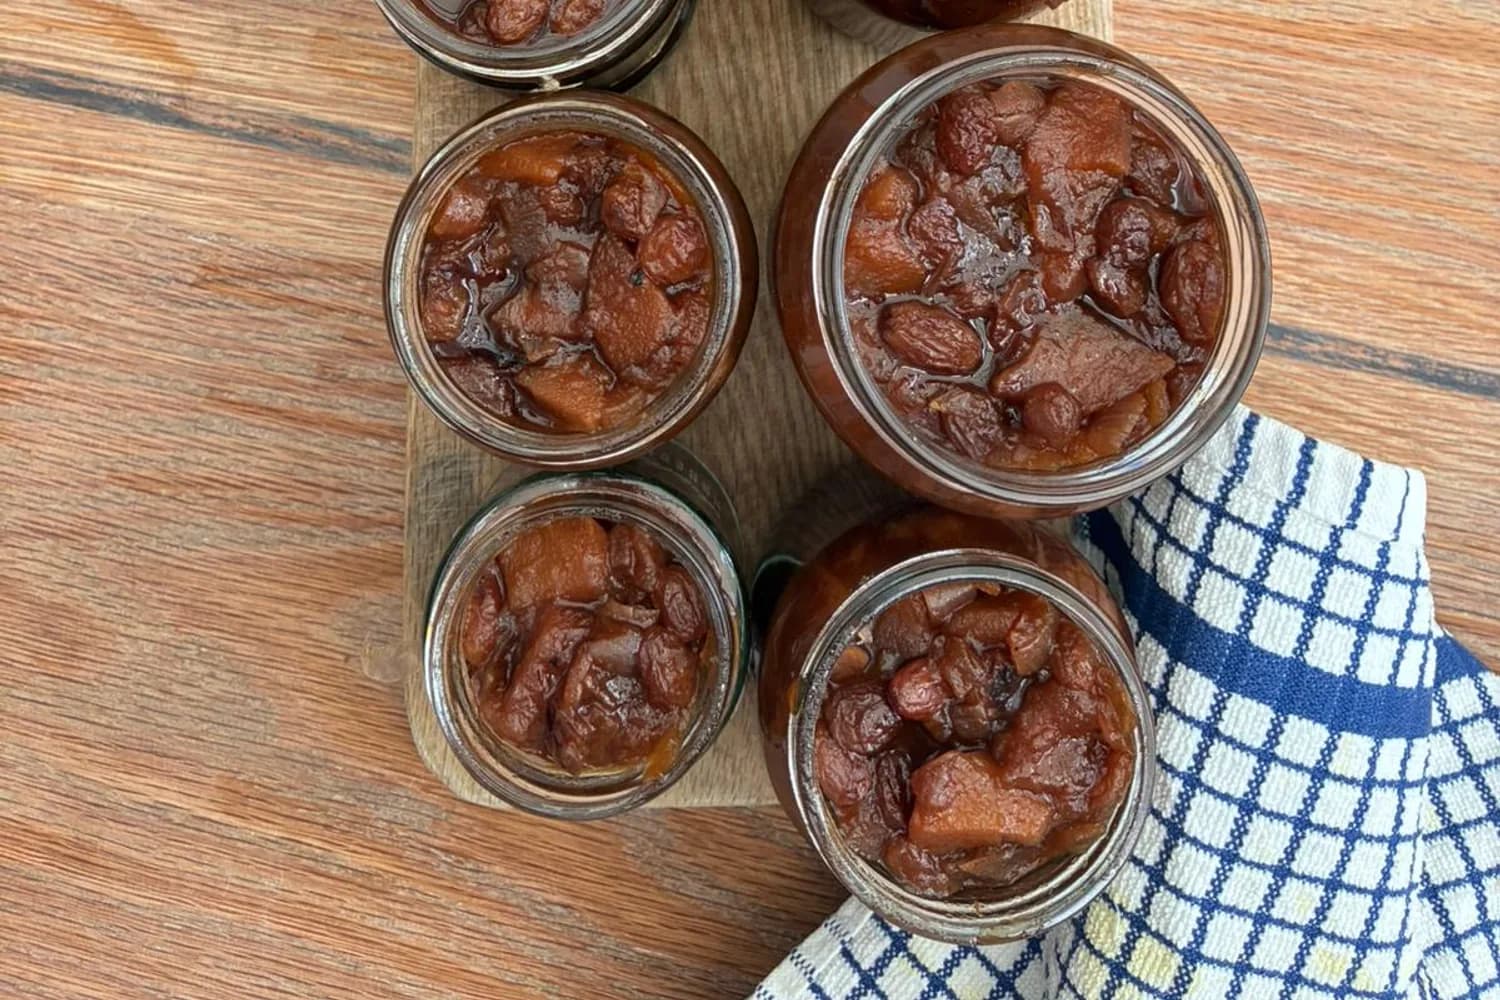
A batch for the cupboard
The finished chutney fills a family cupboard with jars to open, share and enjoy over the months ahead.
Cook's notes & swaps
A little help from the OPR kitchen
Save suitable jars throughout the year and discard any that are chipped or cracked. Wash and sterilise the jars, then follow the jar manufacturer's instructions for filling, headspace and sealing. Pot the chutney while it and the jars are still hot, taking care to protect your hands. Label the cooled jars for later in the year. The flavour will settle and mellow after a few months.
Families who've made this
Add your place at the table.
Cooked Mum's Apple/Pear Chutney? Share a photo or a few words for the families who make it next. and you could be picked for a future OPR live cook-along. Every post is checked by OPR before it appears here.